
Shattered Peak
Golden Path playthrough where the player interacts with more enemies, encounters close-quarters combat and can acquire the shotgun
Unreal Engine 4
Project Type: Level Study: Blueprints and Maya
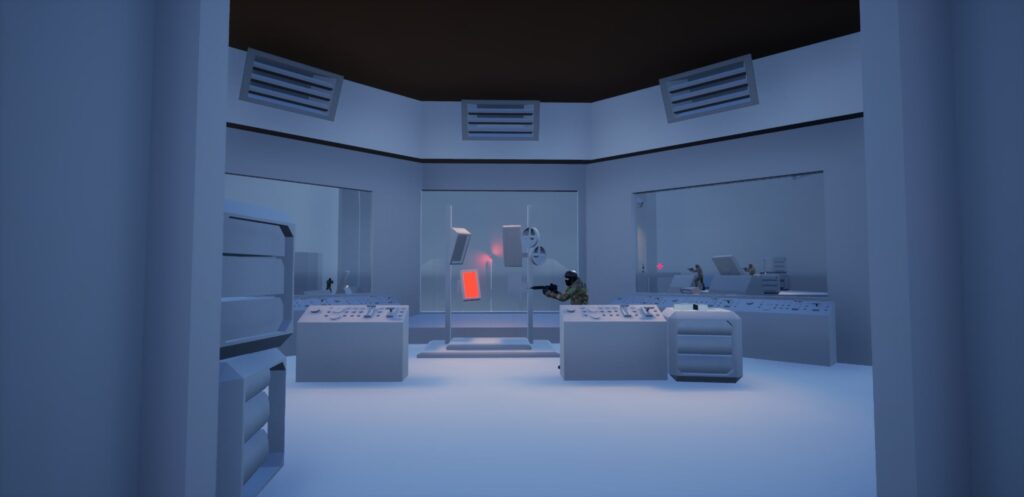
Shattered Peak is a first-person level with high-speed wall-running mechanics that mixes the classic shooter genre with a more freeing style of play similar to Titanfall, with a PS2-era 007 layout theme and mission style. The main goal for this experience was to create a whitebox environment entirely in Maya that was easily distinguishable to the players and easy to navigate. Additionally, one of the key focuses of this project was to further hone my Blueprint scripting abilities and to increase my understanding of Blueprints and constructing simple IOs for better future prototyping. As a designer who always does their best to consider the desired player experience, I used my understanding of games with higher levels of movement within their design to increase the overall gameplay flow within this level so that the player doesn’t lose momentum but is encouraged to push forward Instead.
Developed a reference board to outline specific gameplay elements, level design techniques, and architecture that facilitates intense, fast-paced Sci-Fi gameplay
Designed the initial layout of the map on paper and then transitioned to Illustrator for further iteration and development
Created 35 detailed proxy assets in Maya to support a more detailed level of whitebox construction
Built and iterated on the whitebox using Maya to construct the entire geometry and UE4 to test the gameplay
Scripted trigger events throughout the level to increase player engagement and thematic perception
Assembled 15 interactive Blueprints using UE4, including displaying information to the UI
Altered an existing FPS controller to create the ability for players to wall run, focusing on both function and feel
Responsibilities:
Responsibilities:
Inspiration:
Software Utilized:
Maya
Adobe Illustrator
Unreal Engine 4
Blueprints
TitanFall: Player mechanics, enemy encounters, additional explorable areas, Sci-Fi aesthetic and themes, and collectibles
Mirrors Edge: Keeping the momentum through movement, balanced spaces between several obstacles/interactables to ensure freeing movement and available resources
Halo: Combat situations, aesthetic inspiration, and large combat spaces
007 Nightfire: Mission layout theme and mission inspiration



Preproduction and Design Principles
From the start of this project, I had a good idea of exactly which player mechanics I wanted to build my level around. The largest obstacle to overcome at this stage was creating a Titanfall-style wall run since there was nothing like it on the UE4 Marketplace at the time. After scouring the internet, I found some tutorials on exactly how to create a character component that allowed wall running to be possible on nearly every surface. Naturally, I attached the character movement component to an existing basic FPS controller, which gave me enemies and the ability to shoot them. From there, it just needed to be refined, but I now knew this mechanic would work in-game so I could move on to the design phase.
Research and Prototyping:

Creating a Reference Board:
Now that I knew the player could navigate walls and fire at enemies, I began to gather references from games and other pop culture, which best-expressed elements I wanted to include in my whitebox. Taking the time to set a strong foundation early on increased the overall strength of this project, and having so many ideas connected on one sheet helped solidify those design pillars. By creating this reference, I was able to understand which mechanical elements worked well together, and this allowed me to create the desired player interactions. Keeping the momentum moving forward was a great example of this, which allows me to ensure an enjoyable and smooth player experience as they traversed the indoor and outdoor spaces. In order to keep the momentum moving forward, I had to ensure there were plenty of large flat walls for the player to run on, while also encouraging such fast-paced movement with explosive moments and environmental hazards. Although the player didn’t need to use cover to complete the game, because it is an FPS, I viewed this as an essential part of the formula to make sure the player had the opportunity to be strategic in their movements.
Layout Design:

The Layout was designed to be a mixture of indoor and outdoor areas built in a linear capacity, but with several different paths leading to the same ending. The map itself consists of multiple areas, all of which combine to resemble a Sci-Fi mountain base. Using a mechanic like wall-running, I knew that using verticality would be the best way to encourage the player to engage with the mechanic in new and exciting ways. Because of this, in the larger rooms of the level, I added platforms at various heights (like roofs) that the player could get onto from wall running. The goal of the space was to showcase replayability by giving the player a wide range of routes to take through the space with varying gameplay experiences. This also assisted in allowing me to give the player multiple options for engaging with the enemies; they could attack from afar, get up close by wall-running next to them, or hide behind cover placed throughout the level.
Building the Whitebox In Engine:


Production


The next step in my process was to begin laying the foundation for my entire level. For this, I chose to use the terrain tool inside of UE4 version 4.25.4 to create a large base for the space. I then began to sculpt mountains, steep cliffs, and valleys to break up the terrain into the five sub-areas. After laying the foundation, I switch over from UE4 to Maya to construct any proxy assets I would need. I knew I needed the themes and ideals of this darker genre to be apparent and understandable, even at the whitebox level. As a result, I took special consideration when modeling the proxies so that the shape language was correctly represented and matched the theme. An example of this is evident in the tree model I used to construct the forest. It has many sharp points and a lack of leaves which align it with trees more often seen in spooky forests or dark fantasy-based pop culture. In total, I constructed 36 detailed proxy assets, including a Hangman’s Platform, Moloseum, Witch/Gypsy Wagon, Castle Towers, and Explorable Village Home while using the UE4 man for size reference to ensure that the models were represented as close to the desired in-game size as possible.


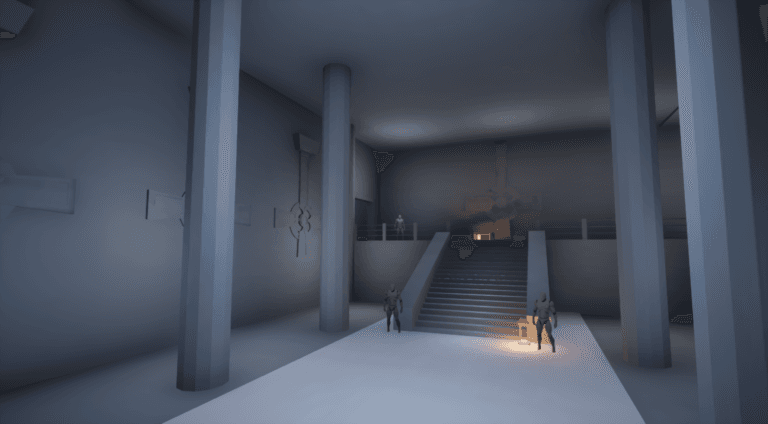
Now that all the pieces I needed were assembled, imported, and had their collision added, I began to place them into the world to build my whitebox. I started with the forest and ended with the mountainside castle, moving linearly across the level while performing several passes to ensure even and consistent detailing of the space. After the initial architecture and white box population were completed, I began to add in the enemies. I playtested each encounter a multitude of times, adjusting enemy health and damage, player health, enemy placement, and cover placement as necessary. It was essential to me as a level designer who deeply enjoys creating combat situations that I got the combat just right for the intended gameplay feel. Through iteration and playtesting, I was able to get both ranged and melee combat, or any mix of the two, feeling excellent so that either way the user chose to play, they found support through the environment’s architecture.Now that the environment and combat felt accurate to the dark-fantasy genre, the last element of the whitebox phase that was missing was the skysphere. Initially, I used the UE4 BP_SkySphere in the engine content folder to light the space enough to accurately place the proxies and build the space with precision. By editing the sun brightness, position, cloud speed, cloud opacity, star brightness, and sun height, I created the ideal dark and eerie night sky to represent the desired genre more accurately while ensuring a clear whitebox level of visibility.
Populating with Art Assets:
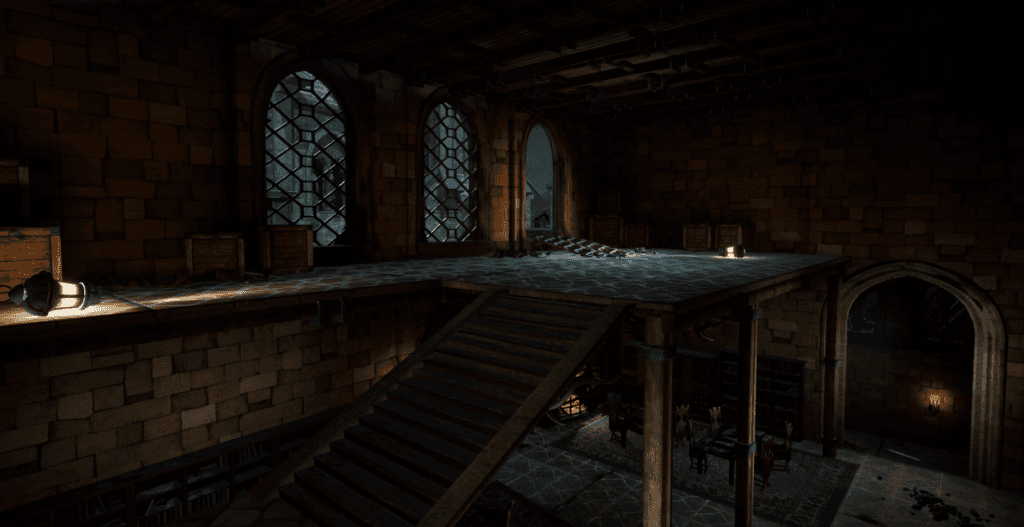
After completing and testing the whitebox, it was time to gather a plethora of asset packs that best represented the dark and eerie aesthetic. To keep my file size smaller for the level, I added all the packs to an empty project, and then I migrated only the assets I needed to build the level. I began the set dressing portion of development by adding gameplay-centric pieces like the castle and village architecture and the larger structures used for player orientation. With each pass after that, I expanded outward to include the non-gameplay-centric pieces such as tables, chairs, debris, rubble, and tombstones until the space felt accurate to the Dark Fantasy genre and resembled my initial vision for the level.
Limitations from the asset marketplace offered me an opportunity to really cultivate my creativity through kitbashing the models that were unavailable to me. My favorite example is the Hangman’s Platform, which was constructed using a single wooden plank that I scaled and manipulated to build out the entire platform.
After several detailed passes of adding art to the space, I set my focus on the unique lighting style that I had initially depicted in my reference board. Adding fog to the level added an element of mystery and danger which pushed my level much closer to the desired aesthetic. I decided to use blue and amber lights throughout the level to reinforce the theme. Pocketed lights became a warm, welcoming leading light while the ambient blue lights enveloped the level in a blanket of cold despair and feelings of solitude.


Lessons Learned:
Supporting Multiple Combat Types:
This was my first time building a space that supports multiple types of combat with such a stark contrast, such as melee sword fighting and ranged attacks. Finding that perfect balance between having supporting cover and sections with enough room to roll and dodge freely was tricky at first. Still, the further into development I got and the more iterations of the space I did, the easier it became.
The Value of Lighting and Fog:
Throughout the development of this project, I was practicing my lighting techniques, and this was a fantastic place to test what I had learned. The proper lighting, post processing, and volumetric fog were critical for me to meet the aesthetic goals of this project. Without the proper use of these effects, I would not have been able to make the player feel a sense of despair, solitude, and increased anxiety within the level.
Kitbashing:
Using limited resources from the Epic store really made me evolve in creative ways. I found myself using more modular pieces to build the world and combining assets from different cohesive packs to create something visually appealing and unique, rather than simply utilizing the assets of a single pack or strictly using what was available to me.
Improving Maya Skills & NCloth:
As a result of working in Maya frequently throughout this project, I was able to focus and improve on my modeling skills. I refined the methods for which I conveyed the space to the player in the whitebox phase by increasing the quality of my proxy assets. Additionally, I researched and learned how to use the Ncloth simulation tool to create a hanging body asset. Using this tool over the top of the UE4 Mannequin created the perfect hanging body to decorate the space. I credit the ‘WOW’ moment at the Hanging Tree to the bodies hanging from its branches in combination with lighting.